Week 7: Sight-In with Field Points
In the previous weeks, we’ve been working on the equipment, mental and physical aspects of archery. It’s now time to hit the range for some sight-in sessions. Hopefully, everything is tune, and if it’s not, we will find out in this week or next.
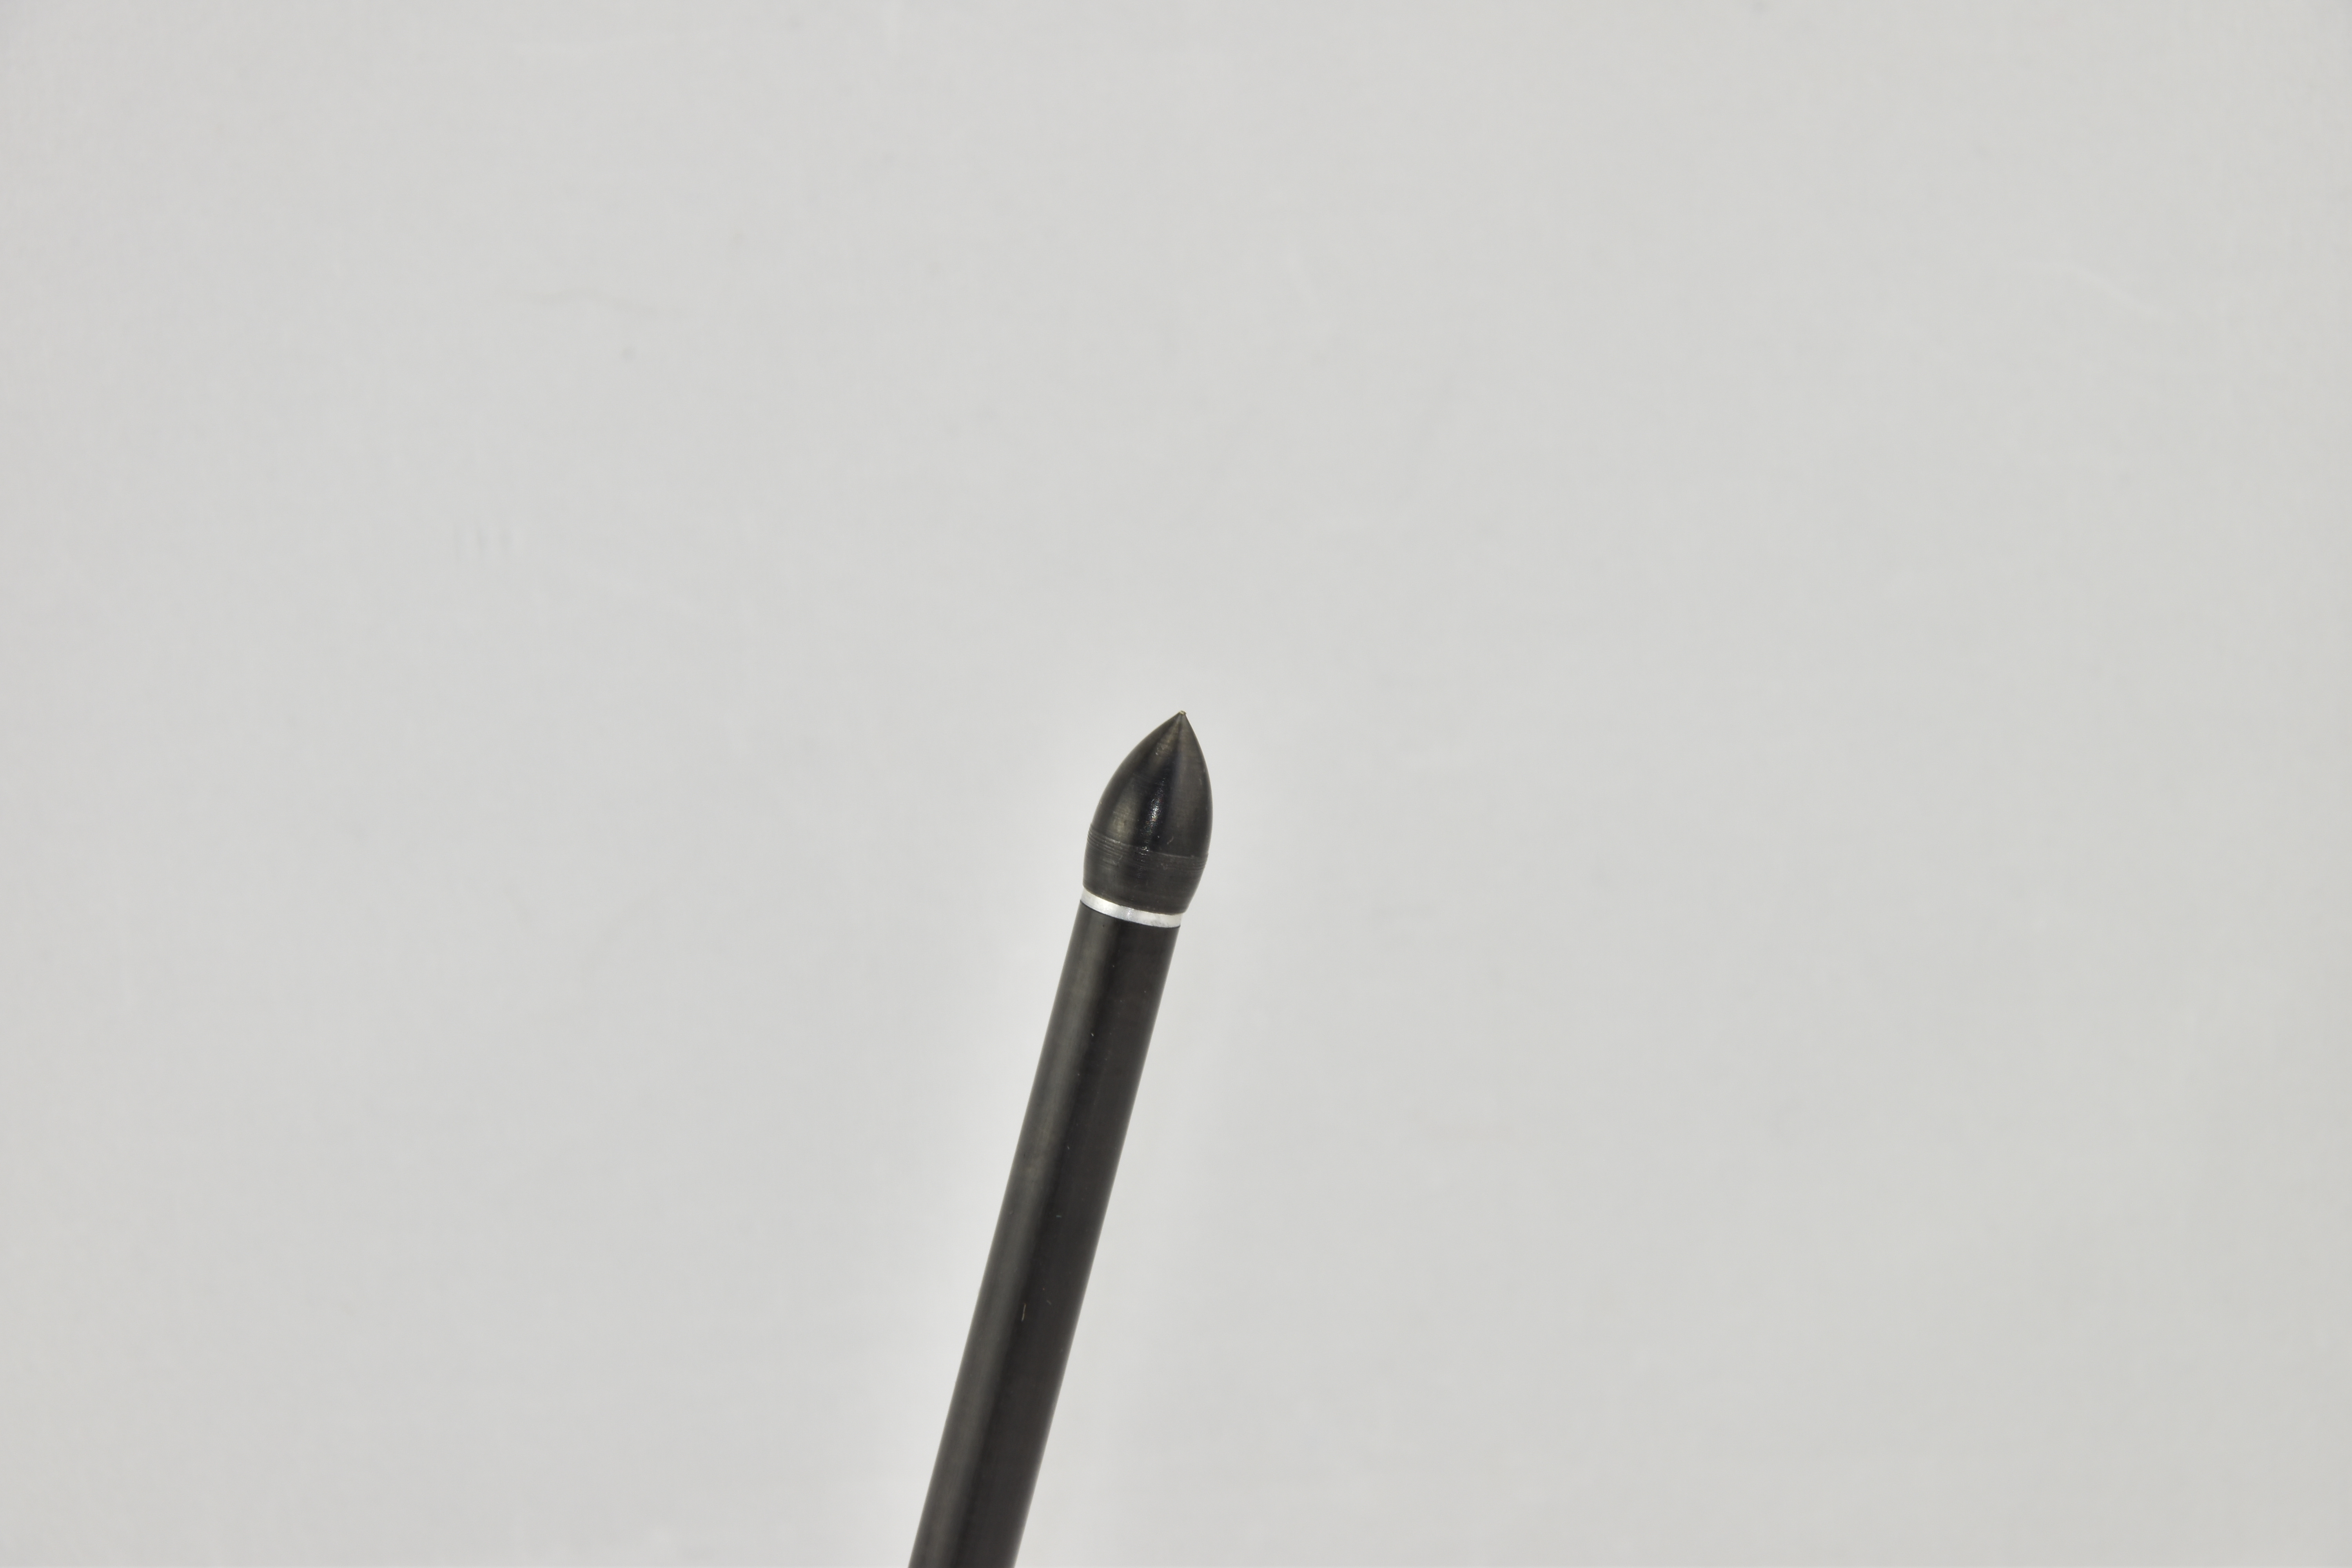
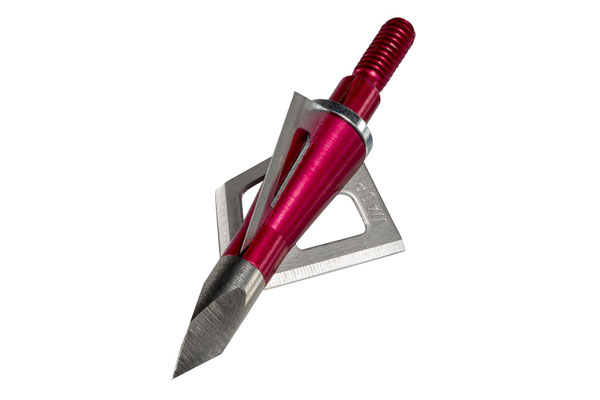
We will start with field points – which are a lot more forgiving than broadheads. This will give us a benchmark to compare broadhead flight to, which we will do next week. Like we have been doing all offseason, we want to put consistency above everything else.
Before you take a shot, gather any tools you will need to make adjustments to your sight pins and write numbers on the fletching of three of your arrows. That’s right, only use three arrows. You often see guys shoot five or six arrows each round, but by the end of a round your form may not be as crisp thanks to fatigue. Think quality over quantity and only shoot three arrows each group.
Use a rangefinder or measuring tape to mark the distance from the target. Start with your closest pin. This may be 15 or 20 yards depending on your preference. Aim at the center of the target for the first three arrows and see what happens. If your arrows group consistently off the mark, adjust your sight. “Chase” the point of impact with your sight. If all arrows were low and to the left, move your sight down and left. Repeat until you are hitting the bullseye. If one arrow is regularly off the mark, swap it with a new one.
Once you are consistently putting arrows where the pin is aimed, call it a night. Come back the next night and sight-in your 30-yard pin using the same three arrows. And then, your 40- and 50-yard pin after that. Again, this will cut down on fatigue.
If your bow is not super fast, you may want to set your pin in 5-yard increments.
If you cannot get your arrows to group consistently (or if they hit the bullseye at 20 yards but to the left or right at 30 yards and further), there is a tuning issue. Before setting your sights, you have to fix it. Otherwise, if you move your sight horizontally after your first session, those pins you set previously will now be off. Follow this procedure to paper tune your bow, or walk-back tune your bow.
Walk-back tuning is a quick way to check the center shot and tell you if your rest needs to be moved left or right. Place a piece of masking tape vertically on your target. Draw a dime-sized dot on the tape. Aim at the tape from the distance of your first pin. Once you hit it, move back in 5-yard increments. 20 yards, 25, 30 and so on. As you move back, use the SAME PIN and keep on aiming at the SAME DOT. A properly adjusted rest will result in the arrows being in a perfect row down the piece of tape, hitting lower at each distance. If the arrows are skewing left or right as you move back, a rest adjustment is in order. Move the rest one (1/64-inches on most rests) hash mark the opposite direction of where your arrows are hitting. If you are shooting to the left, move your rest to the right and vice-versa. Do this until your arrows are in a vertical line as you walk back.
Here’s a video that shows the basics of walk-back tuning:
Sighting in with field points is a good first step of practice. It will show any macro-adjustments to a rest, cam timing or nock point that needs to be made. Next week we will ensure our broadheads are hitting in the same place as the field points and make micro-adjustments as needed.
View All Posts

