How to shoot a bow
Courtesy of Bill Winke
Recently, Lee Sheppard, from North Carolina, asked me on the Ask Winke part of the site to go through my shooting form and the key things I think about when shooting a bow.
This is a big enough subject that I thought I would address it here in the blogs and just point Lee toward the blog rather than put all this into a single Ask Winke question. I also decided to expand the conversation slightly to include more on the topic of how to shoot a bow more consistently.
MAXIMUM DISTANCE
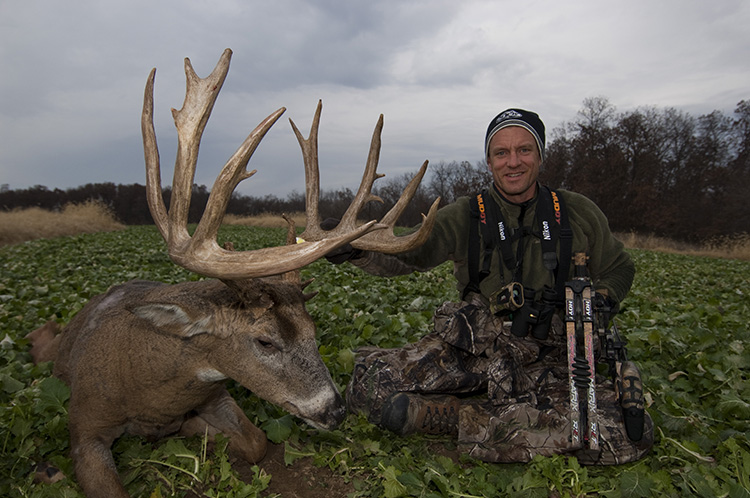
The farthest I have shot at a deer is 51 yards. This is a really long shot on whitetails because they are so prone to moving while the arrow is in the air. If you shoot your bow a lot, you will get good enough with it to hit a spot the size of your fist at that distance, but there is no guarantee that the deer will still be in the same spot when the arrow arrives.
If the animal is completely relaxed and feeding, which this one was, it is possible to make a 50-yard shot work, but just keep in mind, maximum range on whitetails (and really any game) is dictated more by how likely they are to move than it is by your pure shooting skill.
SHOOTING FORM KEYS
I am not a world class archer by any means, but I learned how to shoot a bow from guys that are world class archers. All of my shooting techniques came from the best archers and bowhunters of the modern era. So, these tips may seem to be coming from me, but they are actually coming from guys like Randy Ulmer, John Dudley, Pete Shepley, etc. These guys know how to shoot a bow consistently – and super accurately.
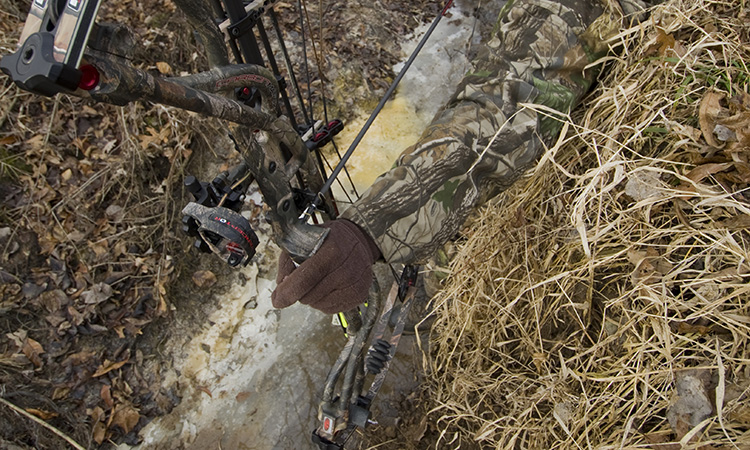
Grip: Lee asked my grip. I learned my grip from Randy Ulmer – who is certainly one of the best archers and bowhunters ever. Randy emphasizes the importance of eliminating the hinge of your wrist by pressing against the back of the bow handle using the part of your hand that lines up perfectly with your forearm bones.
You can find this spot easily by poking at your palm with the index finger of your other hand. Let you hand go totally relaxed. Press in various spots on your palm and notice how your wrist flexes. When you find the perfect pressure point, your wrist won’t flex.
On my hand, this is roughly where the life-lines of the palm come together. Make a conscious effort to push that part of your palm into the back of the back of the grip when positioning your hand and drawing the bow. Never readjust the grip once you have started the draw and make an effort not to do anything with your wrist – let it be completely inactive.
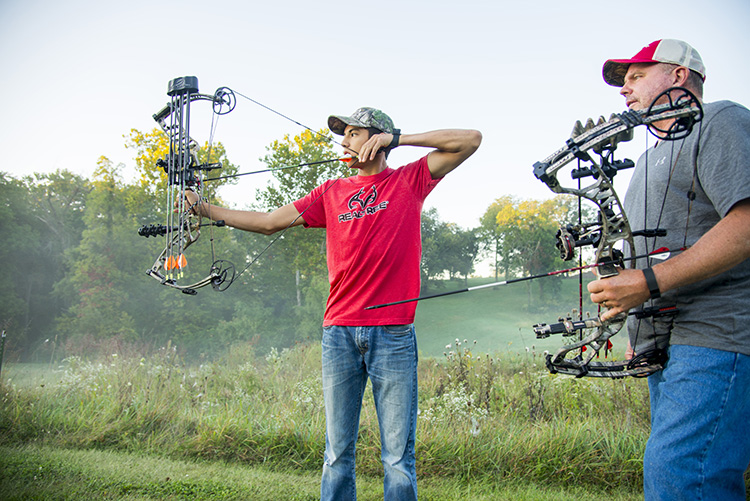
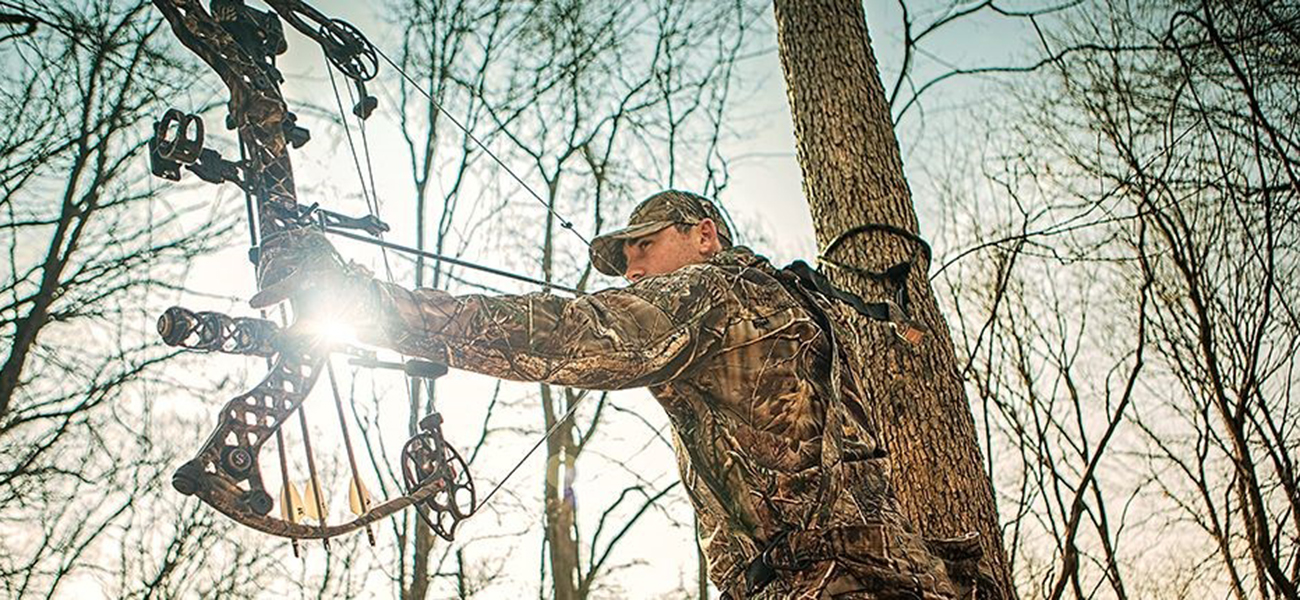
Bow Arm: Bow arm should stay nice and relaxed with a very slight bend to reduce tension and make it act like a shock absorber.
Once you hit full draw and create the ideal 90 degree angle between your upper body and your bow arm, your arm is done moving until well after the shot.
When aiming, move your bow arm (and sight pin) by rotating or bending your upper body. Use the big muscles of the legs and torso to control the bow’s position rather than the small muscles of the shoulders, arms and hands.
This will make for much steadier aiming as it allows you to completely relax your bow arm, bow hand and shoulder throughout the shot.
Follow-Through: Lee was mentioning that he has started to have problems with the consistency of his shooting. In my experience, the thing that most affects consistency is the follow-through. Regardless of anything else you do during the shot, if the bow is still aiming more or less at the target until the arrow hits, you are going to be very consistent.
The follow-through (both mental and physical) is the most important part of the shot. If I am struggling, I focus on keeping my bow arm pointed at the target until the arrow hits and the issue usually goes away.
For sure, this is a bit of an over simplification of the challenge of archery, but it really does make a huge difference.
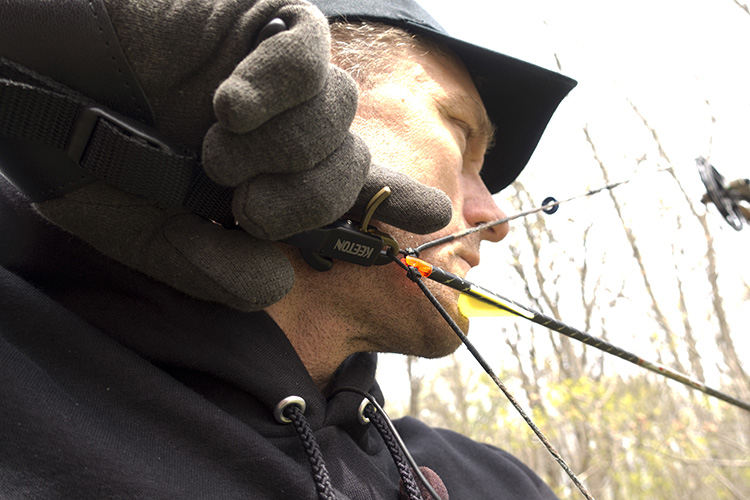
Surprise Release: I am much more consistent when I make a surprise release than when I try to time the shot and pull or punch the trigger.
It would take too much space and time to really dig into this topic here, but if you will strive to squeeze the trigger and make the bow go off without you knowing exactly when, you will shoot much better over the long-run.
You can learn this by having someone else trigger the shot while you aim – or by using a release aid designed specifically for the purpose – (such as a pure back tension release that doesn’t have a trigger).
I have been using the Keeton Release from Spot Hogg. It allows me to squeeze all four fingers of my release hand at once. My brain doesn’t really process which finger has the trigger, so this makes it much easier to create a surprise release.
You can also make this shooting method easier to learn and execute by shortening your release’s stem, so you are contacting the trigger deeper into the index finger (for index-triggered releases).
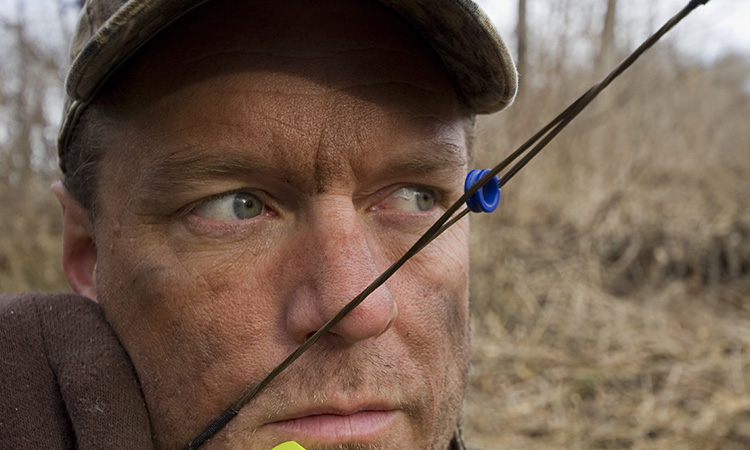
Anchor Point: Lee also asked about my anchor point. I use the back of my jawbone as a solid anchor point that I can hit every time. I press the knuckle of my index finger into the pocket between my jaw bone and my ear lobe.
I don’t think my anchor point is necessarily that superior to others, but it is one I can hit every time because I can feel it very precisely on the tip of my jawbone.
Using a peep sight is important in the process of hitting a consistent anchor point. I use a large Meta Peep (1/4 inch diameter) and then I center the entire round pin guard of my Fuse sight inside that large opening.
I do this rather than centering individual pins because I find it to be more consistent (never having to change the anchor point as the distance changes). Also, the large peep allows plenty of light to come through for easy visibility while hunting without giving up precision that is gained by centering the pin guard.
CONCLUSION
Those are the main things that I focus on when shooting my bow. If I practice enough, at challenging distances, I find that within about two months I can be in good whitetail hunting form while keeping things simple. I hope that helps. Have a great day.
View All Posts