Week 12: Hang Tree stands
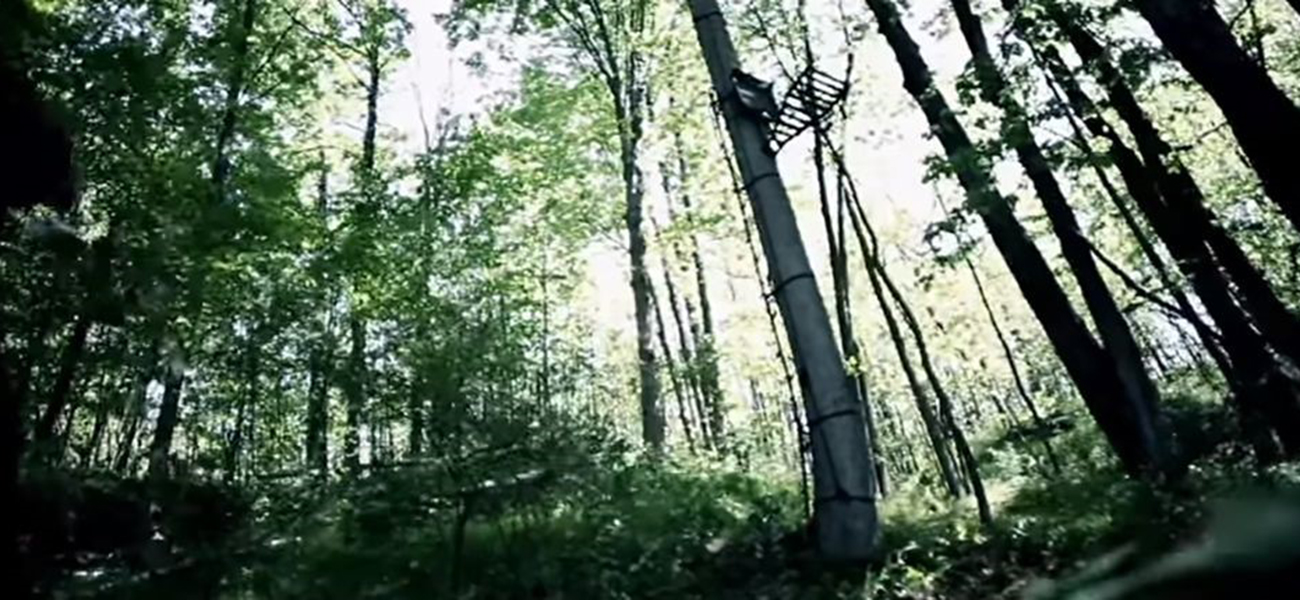
About 20 feet up and 20 yards from a trail. That’s my sweet spot for hanging a tree stand. I find it gives me the best shot angle on both lungs of a broadside deer.
This is not really a “where to hang a tree stand” article. There are plenty of those on the web, like this one. These are some tips for putting up stands that will give you accurate shots when the time comes to release an arrow.
Step 1: Find the right tree
Whether it’s along a rub or scrape line, a travel corridor, or food plot, do your best to figure out where a shot opportunity is likely to take place. Then, look for a strong tree that offers some background cover and hang your stand. “How high is high enough?” is a popular debate among bowhunters. Really, it depends on the shot angle and surrounding cover. Remember, the more extreme the shot angle, the more the target zone on a deer’s vital area shrinks.
Step 2: Clear shooting lanes
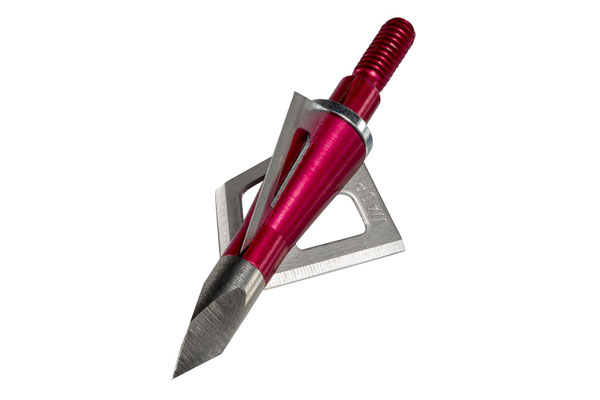
Wasp makes the best fixed-blade and mechanical broadheads on Earth. And though they’ll break through bone, ligaments, and any other part of a deer, it’s hard to penetrate a hanging branch and still be hopeful that your arrow will land in the same Zip Code as that buck you were aiming for.
Though checking and clearing shooting lanes seems like a simple task, many bowhunters simply assume that everything will be okay…until that buck of a lifetime walks right down that trail that was never cleared out.
If you are hanging new stands, it’s always best to take a friend with you to help with clearing out limbs. Otherwise, you’ll be climbing up and down, clearing branch after branch, without ever being 100% certain that you’ve cleared all the right lanes. Another advantage of having a partner is that they can walk down various shooting lanes that you may not notice. The more eyes you have on a situation, the better off you will be (as long as you respect their opinion on where to hang a stand).
Some things to keep in mind when clearing shooting lanes:
- There is a fine line of trimming “just enough” and too much.
- Rely on what’s behind you to break up your outline and hide movements.
- Trim anything that is in the way of drawing back a bow and limiting your range of motion when it’s time to shoot.
Step 3: Make sure you are comfortable
A comfortable place is vital, especially during the rut when you will probably be hunting all day. But comfort also includes your safety. Always use a safety harness so you can relax in the tree, stand up, draw your bow and bend at the waist before introducing your arrow to a hit-list buck. You don’t want to think about falling when you should be thinking about arrow placement.
Step 4: Practice from the stand
Place a target in the shooting lanes and take some shots from the stand. Focus on your form. In hunting situations, some bowhunters have the tendency to throw the fundamentals out the window. We need to maintain the same upper-body shooting form in the tree stand as we do at the range. This means we have to bend at the waist instead of dropping our bow arm to compensate for the downward angle. When you drop your bow arm, many things happen from a geometry perspective, none of them good. Your draw length increases, causing you to pull back farther than normal, and thus sending your arrow high of its mark. Or you torque the string to one side or the other, resulting in a side-to-side miss. Practice keeping your upper body form the same as it is at the range, and bend at the waist to put your sights on the target.
Take a weekend before the season to hang your stands or visit existing stands where you hunt. Make sure they are safe, shotting lanes are manicured and you are comfortable shooting with correct form from the platforms. It will give you a ton of confidence when it comes time to making an accurate shot.
View All Posts

